Ciranova Maintenance Oil DIY guide

VERY IMPORTANT!!!

Dispose of any oil-soaked cloths or micro-fibre mop heads immediately afterwards by putting them in a plastic bag, soaking with water and then placing in an outdoor bin. Oil soaked cloths not treated this way can spontaneously combust when exposed to oxygen.

WHAT YOU NEED:

  • Sponge mop to clean floor & bucket
  • Micro-fibre mop (Browns Dust Uno from Mitre 10 Mega) to spread oil
  • Plastic spray bottle (Pams garden spray bottle from New World supermarket, or similar)

APPLICATION INSTRUCTIONS

  1. Vacuum and mop floor clean with recommended oiled floor cleaner from Vienna Woods. Wait for the floor to dry.
  2. Shake maintenance oil well, then pour a little bit into the spray bottle. Set spray dispenser onto ‘squirt’ (not the fine mist setting).
  3. Squirt the oil onto the floor – a little bit goes quite a long way. Take care not to get the oil on skirting etc. You can apply oil around furniture if you’re unable to move some heavy pieces of furniture. Aim to spread a light coating on the wood surface – it should be thinly covered by the oil, but not applied too thick or it may not dry. Spread in the direction of the wood grain.
  4. Apply firm pressure on the mop to spread and buff the oil in evenly.
  5. Oil should dry in 2-6 hours depending on humidity. In the meantime, only walk on it in socks to avoid marks such as shoe prints setting in the oil. Move furniture back a day or two later if possible.
  6. Do not wash the floor for 8-10 days after to allow the oil adequate curing time. 1 litre of oil should cover up to approx. 100m2 depending on the texture of the wood.

FREQUENCY

Apply maintenance oil every 12 months or if you notice floor is becoming more susceptible to staining. Other signs the floor may need oiling is if it looks very dry or faded. Top up heavy traffic areas as needed.

GOOD TO KNOW

Do not try to remove paint residue with solvents or harsh cleaners. Wipe up paint immediately when wet if possible or gently remove with a thumbnail. To remove glue marks from the floor you can rub with your thumb or a dry micro-fibre mop. Oiled floors should be installed after plastering and painting is completed. Always protect your oiled floor from plaster dust or paint with floor protection covering as either substance is difficult to remove from a textured floor. Rubbing oiled floors too hard or using solvents may result in some of the original finish being removed from the floor. Use gentle to moderate force when spot cleaning an area. If in doubt, contact us first before you do anything.

Please contact Vienna Woods if you have any questions on 09 523 1839 or support@www.viennawoods.co.nz

Admonter Oiled Floors Care Guide

NATURAL OIL FINISH – QUICK GUIDE

  • Oil after installation – vacuum, wash and oil as soon as possible after installation. Vienna Woods will normally arrange
  • this for clients in Auckland and surrounds, as oil should be machine-buffed
  • Oil every 12-24 months to feed the wood and maintain protection against staining
  • Top up oil in high-traffic or dry areas as needed
  • Spot treat scratches with oil
  • Never use solvents, chemicals, steam mops or excessive water (damp mop only)
  • Use a floor ‘soap’ for oiled floors only, preferably Admonter Clean & Care
  • Do not rub the floor hard – the oil finish may be removed

    PRIOR TO INSTALLATION

    Oil finish floors are prone to damage by other trades. We strongly recommend that your floor be installed as late as possible and covered with floor protection board if other trades are going to be working on site after the floor is installed. Paint in particular is a problem. Spilled or dripped paint should NOT be wiped with a damp cloth or turps – water-based paints are best left to dry enough that they can be peeled off, or gently buffed with a pad or soft toothbrush. Turpentine and other solvents will strip the oil colour and finish from the floor. Wiping with water may cause the paint to soak into the pores of the wood.

      HOW TO OIL THE FLOOR

      1. Admonter maintenance oil (shake well before use) to be used sparingly (1 litre is sufficient for approx. 70 – 100 m2).
      2. Distribute the oil evenly with the use of an oil-sponge, soft cloth or spray can. The quantity of maintenance oil applied
      3. may vary due to the different absorption of the wood.
      4. Polish the floor using a polishing machine and a white pad.
      5. Buff off with cotton cloths applied over the white pad.
      6. Small areas can be treated by hand using a white polishing pad or a soft cloth.
      7. Polish thoroughly.
      8. Do not apply the oil thickly.
      9. Ensure an even distribution of the oil in order to avoid differences in the overall shine once the floor has dried.
      10. Allow the floor to dry for approx. 24 hours, taking extra care during this period to prevent any contact with moisture.

       Note: this is best done by a flooring installer or experienced technician.

      AFTER OILING, PLEASE NOTE 

      • Depending on the polishing, the room temperature and the moisture level the drying of the floor can take 2-7 days.
      • During this period, you can walk on the floor with clean slippers, however avoid introducing any moisture or dirt! Cover
      • high traffic areas with cardboard.
      • Do not clean the floor for the first 8 – 10 days, thus allowing the surface to harden completely.
      • After use, oil-saturated cloths must be soaked in warm water and then hung out to dry (caution: could be flammable).

      NORMAL CARE (10 days after oil applied and thereafter):


      1. Vacuum/sweep floor
      2. If dirty/sticky/dull, wash with damp mop and Admonter Clean & Care. Shake well and use approx. 10 mls per litre of warm water.
      3. Mop in the grain direction and allow to air dry.
      4. We recommend using two buckets, one for the diluted cleaner and the other for clean water to rinse the mop.

      For naturally oiled floors you can use the Clean & Care product generously (around 250ml when the colour has faded or the floorlooks dull). For a shinier effect allow the floor to dry for approx. 30 minutes and polish using a white pad or soft cloth.

      Please note: Admonter Clean & Care contains both cleaning and care ingredients like oils and waxes. The reconditioning of natural oiled and UV-oiled surfaces should only be done by a flooring expert. Please call us first.

      Regular oiling of your floor will protect and feed the wood while enhancing its natural patina. Oiled floors acquire character over time and, with the correct care and maintenance, never require refinishing. Vienna Woods provide a floor oiling service – please call or email us to book a time.

      OILED WOOD FLOORING DOS AND DON’TS

      Oil is a traditional finish for wood flooring and is widely accepted to be the most attractive finish. Natural oil gives the wood a soft, natural sheen that mellows and improves with age and wear. Although the wood is no longer growing, it is a natural material which responds to light, humidity, temperature and wear.

      DO

      • Expect some movement in your floor. It will expand and contract with changes in temperature and humidity.
      • Expect the colour of your floor to change slightly. This is a normal response to UV light. Move rugs if necessary, to allowthe colour to even or refrain from putting down for 6-12 months until colour has settled.
      • Remove dirt and grit by vacuuming and sweeping regularly. This reduces micro-scratches.
      • Clean up spills immediately with a water-dampened cloth or mop. Water or oils may stain the floor.
      • Keep a bottle of floor soap solution pre-mixed somewhere handy for cleaning up spills.
      • Wash your floor by mopping with the specified cleaner to maintain the oil finish.
      • Replenish the protective oil coating regularly – we recommend an annual application of Maintenance Oil.
      • Use a door mat at exterior doors.
      • Ensure that mats and rugs have natural material backings (synthetics and rubber may discolour oil finishes).
      • Put felt pads/glides under furniture legs and change these regularly to prevent scratches. We recommend www.flexifelt.co.nz – use the code VIENNA5 for 5% discount. These stick very well and are superior to standard felts.
      • Contact us on 09 523 1839 or support@www.viennawoods.co.nz if you have any questions or concerns.

      DON’T 

      • Steam clean/ steam mop your floor. This will damage both the wood and the finish.
      • Use dusting sprays or other household cleaners on your floor.
      • Expose the floor to excessive water/moisture. No wet mopping, only damp.
      • Put pot plants directly on the floor. A trivet/stand will allow much better air circulation.
      • Scrub the floor aggressively. This may remove the finish.
      • Do not attempt to sand off the finish without contacting us first.
      • Wear stiletto heels on the wooden floor. These may crack, dent or scratch the finish.
      • Drag heavy furniture over the floor
      Admonter Matt Lacquer Floors Care Guide

      QUICK GUIDE

      • No annual maintenance required
      • Scratches will build over time, requiring the floor surface to be refinished
      • Vacuum or sweep the floor regularly.
      • Mop the floors regularly – weekly or fortnightly.
      • Use Admonter floor cleaner only
      • Never use solvents, chemicals, steam mops or excessive water (damp mop only)
      • Avoid scratches: use felt pads on furniture leg; take care when moving furniture; do not wear stiletto heels.

      HOW TO CLEAN THE FLOOR

      1. Vacuum/sweep floor.
      2. Wash floor using a damp mop and floor cleaner (10ml per 1 litre of warm water)

      DO’S AND DON’TS

      The durability and wear resistance of any wooden floor is highly dependent on regular and correct care and maintenance which,

      if carried out correctly, will add years of life to your floor!

      DO

      • Expect some movement in your floor. It will expand and contract with changes in temperature and humidity.
      • Expect the colour of your floor to change slightly. This is a normal response to UV light. Move rugs if necessary, to allow
      • the colour to even or refrain from putting down for 6-12 months until colour has settled.
      • Remove dirt and grit by vacuuming and sweeping regularly. This reduces micro-scratches.
      • Clean up spills immediately with a water-dampened cloth or mop. Some substances may discolour your floor.
      • Use the correct floor cleaner – we recommend and supply Admonter products.
      • Use a door mat at exterior doors.
      • Put felt pads/glides under furniture legs and change these regularly to prevent scratches.
      • We recommend www.flexifelt.co.nz – use the code VIENNA5 for 5% discount. These stick very well and are superior to standard felts.
      • Contact us on 09 523 1839 or support@www.viennawoods.co.nz if you have any questions or concerns.

      DON’T

      • Steam clean/ steam mop your floor. This will damage both the wood and the finish.
      • Use household cleaners, detergent or methylated spirits cleaners on your floor.
      • Expose the floor to excessive water/moisture. No wet mopping, only damp. Moisture can compromise the
      • polyurethane near knots, causing the filler in knots to come out. Board edges may discolour.
      • Put pot plants directly on the floor. A trivet/stand will allow much better air circulation.
      • Wear stiletto heels on the wooden floor. These may crack, dent or scratch the finish.
      • Drag heavy furniture over the floor

      Smoked Oak for Nordic Inspired New Build

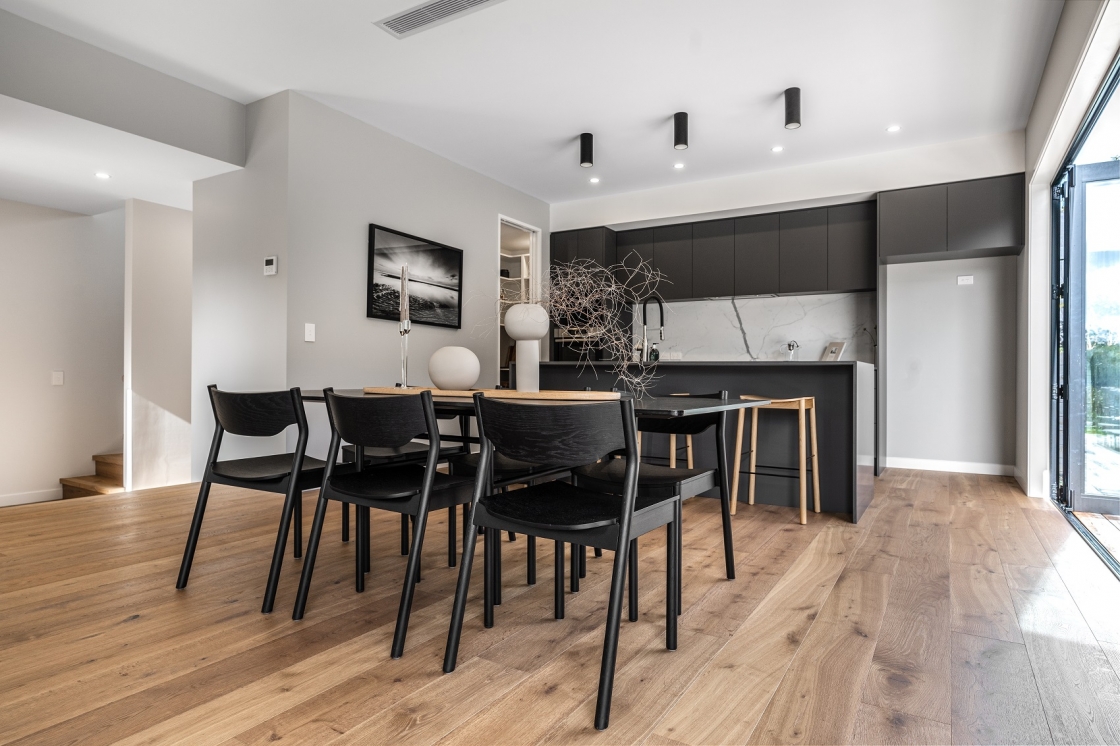
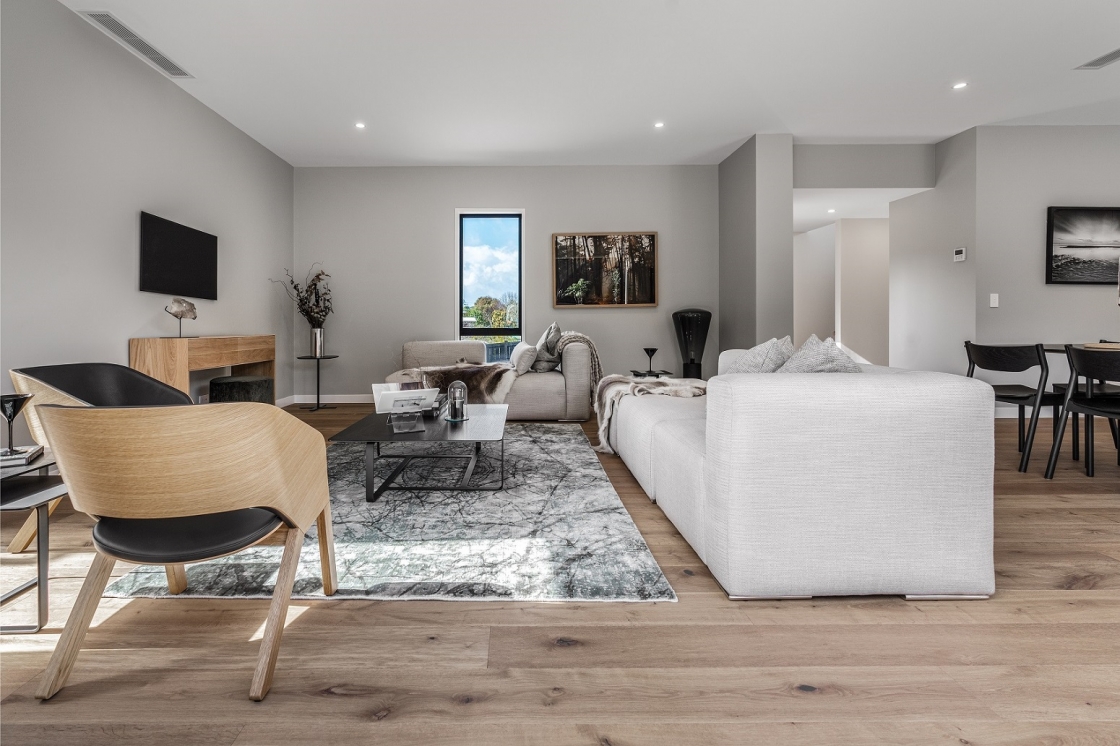
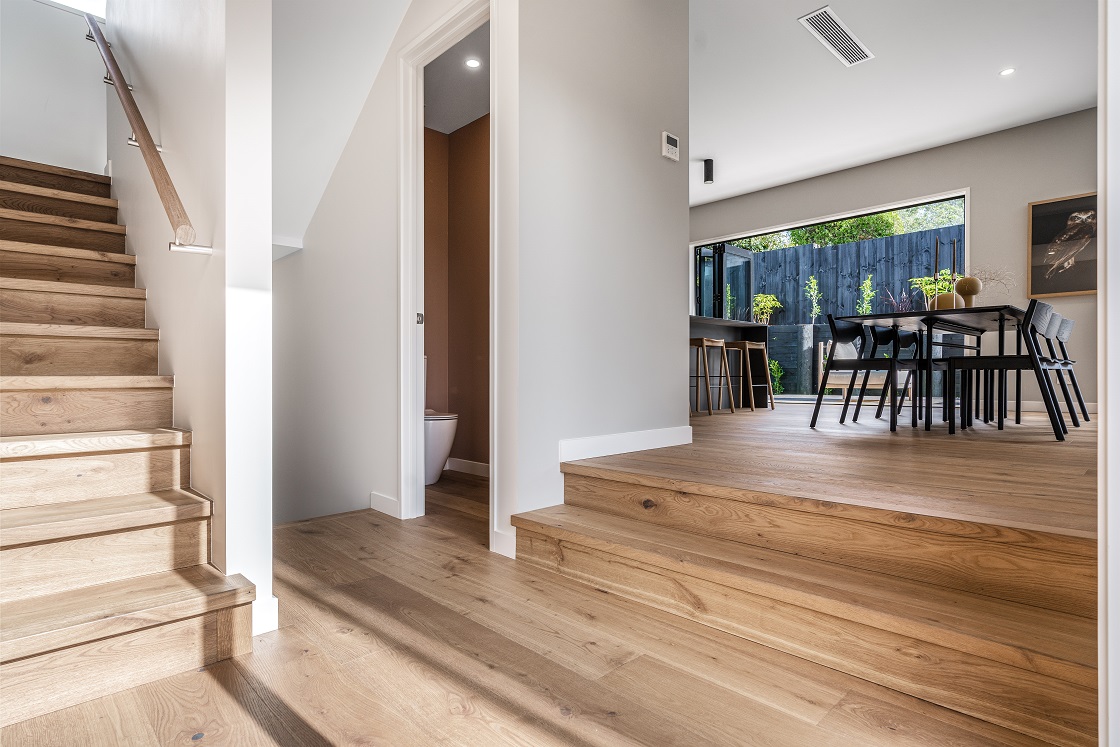
      This stunning Scandinavian inspired MCooper Architect designed home on Auckland’s North Shore features Admonter oak lapis engineered wood flooring.

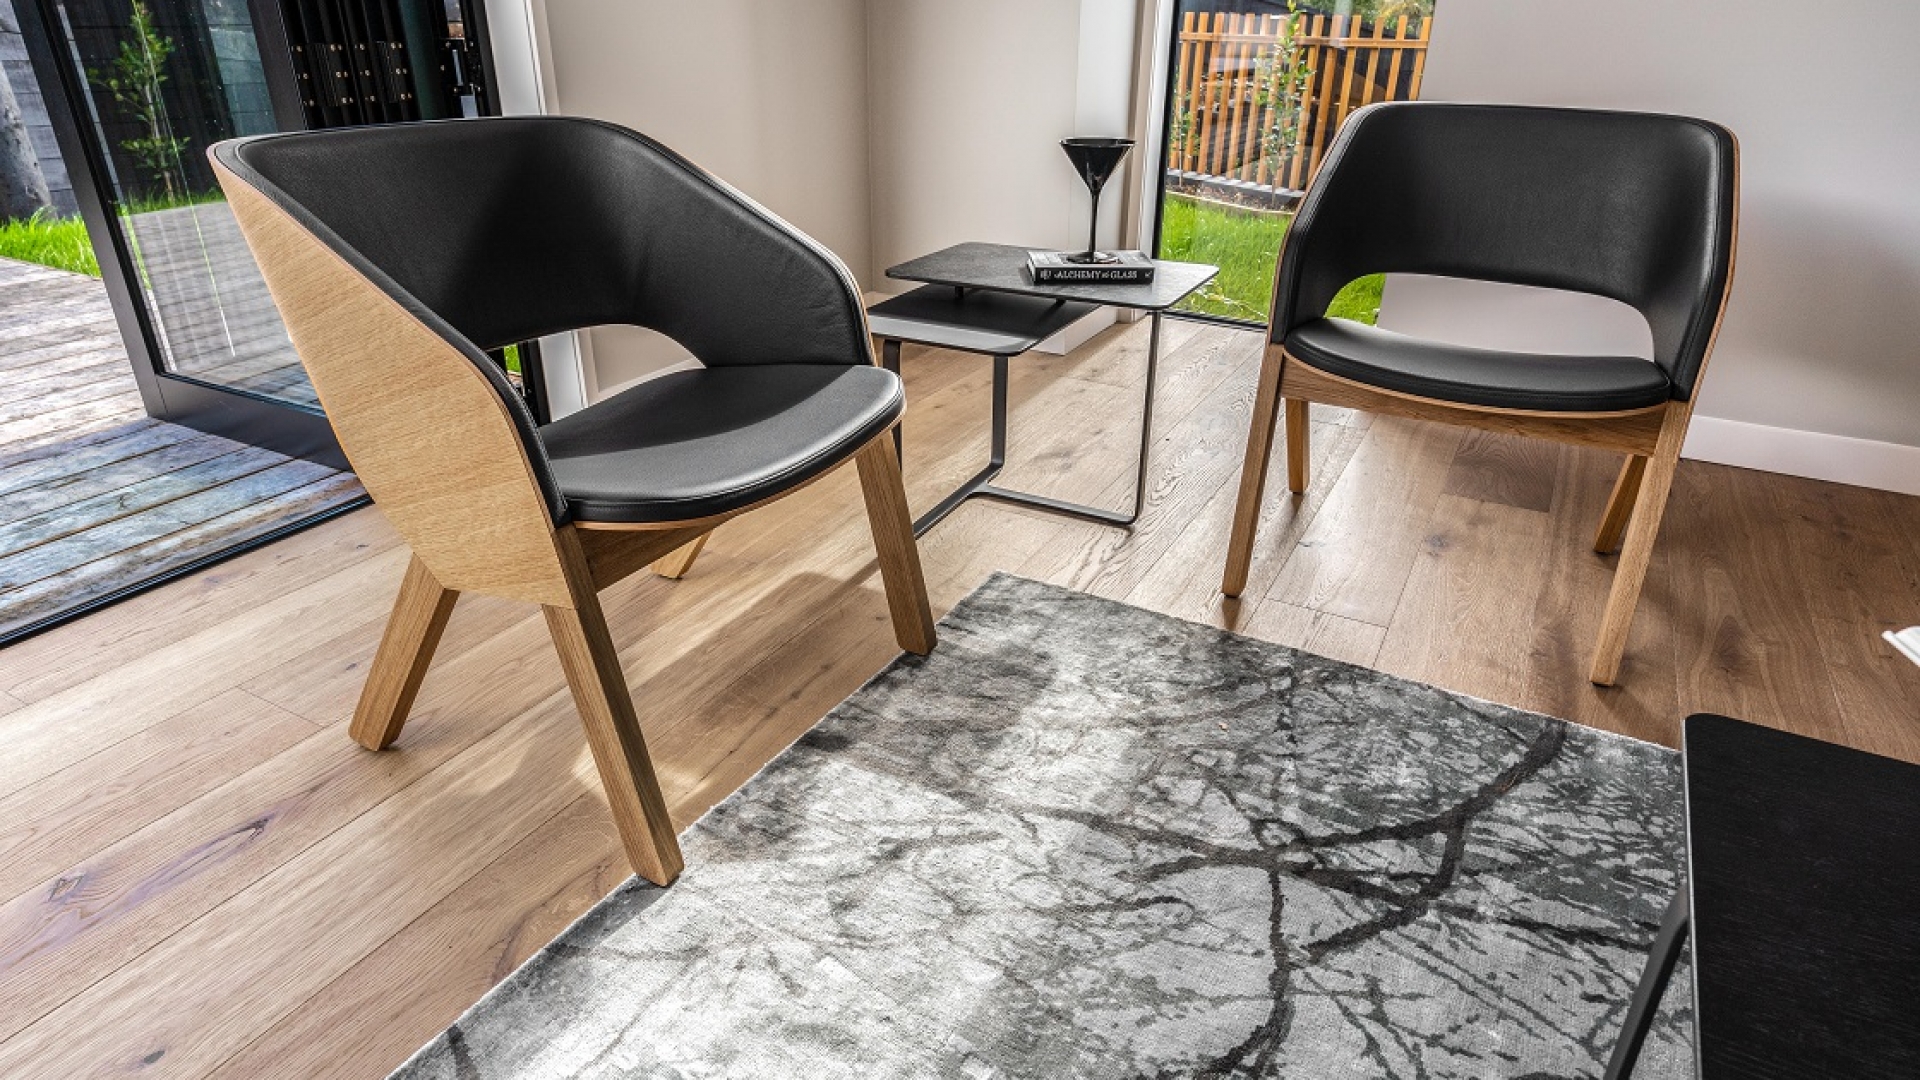
      Interior designers Yellowfox chose a sophisticated, moody theme for the interior with dark kitchen cabinetry and black ECC light fittings to complement the lightly smoked flooring. High-end staging from Exhibit One completes the design-focused interior.

      The developer and designer chose Admonter oak lapis as they wanted a beautiful premium quality floor to help realise the inspiring atmosphere they were aiming for. The is the perfect example of how oak lapis complements a modern interior, however this flooring works equally well in historic villas and bungalows, loft spaces, apartments, retail and offices.

      Engineered Timber Flooring: Vienna Woods /// Oak Lapis